 Hammer & Hoe
How to Start Seeds Indoors: A Beginner's Step-by-Step Guide
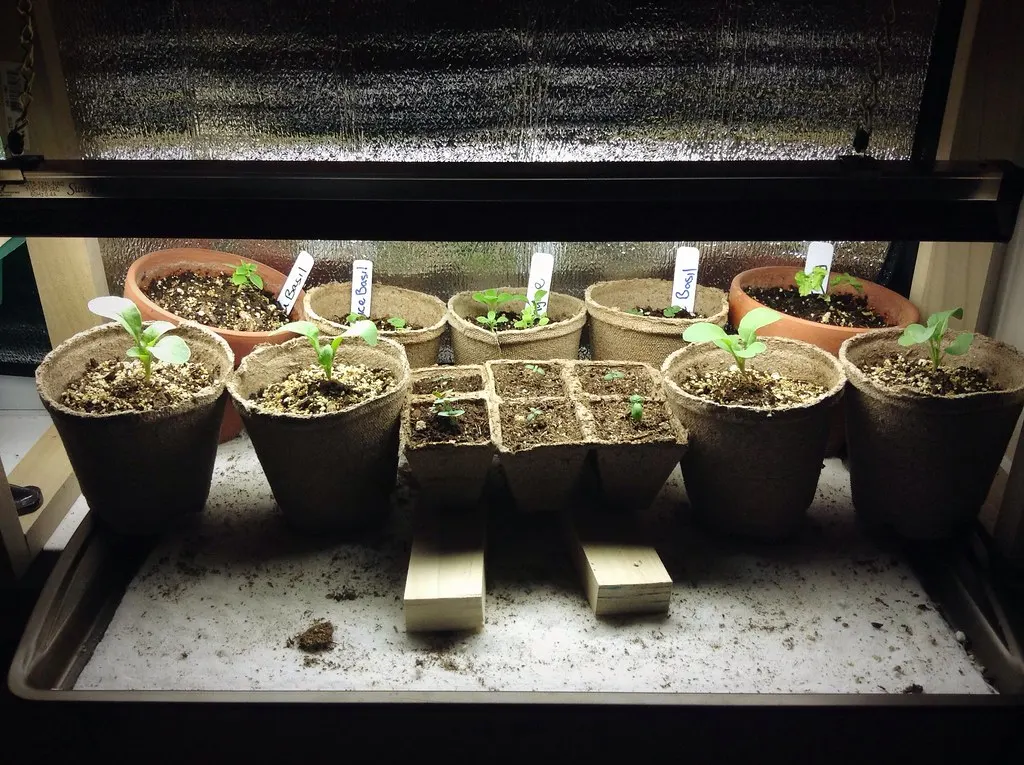
Starting your own seeds costs a fraction of buying transplants and opens up hundreds of varieties you'll never find at the garden center. All it takes is the right timing, a light source and a little daily attention.
Know your timing
Everything is counted backward from your area's average last frost date, which you can look up by ZIP code through your local cooperative extension service.
| Crop | Start indoors |
|---|---|
| Peppers and eggplant | 8–10 weeks before last frost |
| Tomatoes | 6–8 weeks before last frost |
| Broccoli, cabbage, kale | 6–8 weeks before last frost (they can go out a few weeks early) |
| Squash, cucumbers, melons | 2–4 weeks before last frost, or sow directly outdoors |
| Beans, peas, carrots, radishes | Usually best sown directly outdoors |
Starting too early is the most common mistake. Seedlings that sit indoors too long get stretched, root-bound and stressed.
What you need
- Containers with drainage: cell trays, small pots or recycled containers with holes poked in the bottom.
- Seed-starting mix: a fine, sterile, soilless mix. Don't use garden soil, which compacts and can carry disease.
- Light: a sunny windowsill is rarely enough. An inexpensive LED shop light or grow light makes the biggest difference.
- Optional: a seedling heat mat, a clear humidity dome and a small fan.
Sowing
- Moisten the mix before filling the containers so it's evenly damp, like a wrung-out sponge.
- Sow seeds about twice as deep as the seed is wide. Tiny seeds such as lettuce can simply be pressed onto the surface.
- Label every tray with the variety and date.
- Keep warm-season crops at around 70 to 80°F to germinate; a heat mat under the tray works well. Cool-season crops germinate fine at room temperature.
- Remove any cover and the heat mat as soon as most seeds sprout.
Light and water: avoiding leggy seedlings
Seedlings that are tall, pale and floppy are reaching for light. Keep LED lights just a few inches above the leaves, raising them as the plants grow, and run them 14 to 16 hours a day on a timer. Water from the bottom by setting trays in a shallow pan for a few minutes, and let the surface dry slightly between waterings. A small fan on low for a few hours a day strengthens stems and reduces damping off, a fungal disease that makes seedlings collapse at the soil line.
Thinning and potting up
When seedlings have their first set of true leaves, snip extras at the soil line so one strong plant remains per cell. Tomatoes and peppers benefit from being moved into larger pots after a few weeks; tomatoes can be buried deeper each time. Start feeding with a half-strength liquid fertilizer once true leaves appear.
Harden off before planting out
Indoor seedlings need about 7 to 10 days to adjust to sun, wind and cooler nights. Start with an hour in a sheltered, shady spot and increase the time and sun exposure each day. Then transplant on a calm, cloudy day and water well. For what comes next, see our guides to growing tomatoes and raised garden beds.
Prices are typical U.S. ranges and vary by region, home and contractor. Always get several local quotes and follow local building codes; hire a licensed professional for electrical, gas and structural work.
Keep reading
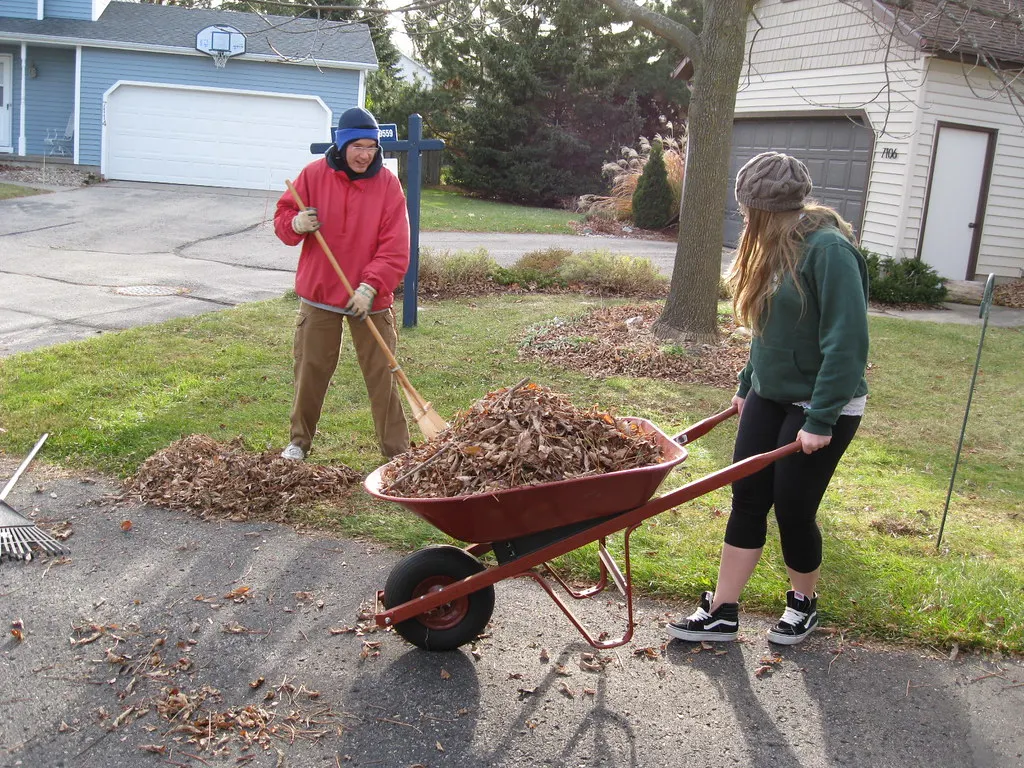
Fall Garden Cleanup Checklist: What to Do Before Winter (and What to Skip)
A practical fall checklist for vegetable beds, perennials, lawns and tools, including what to leave standing for pollinators and birds.
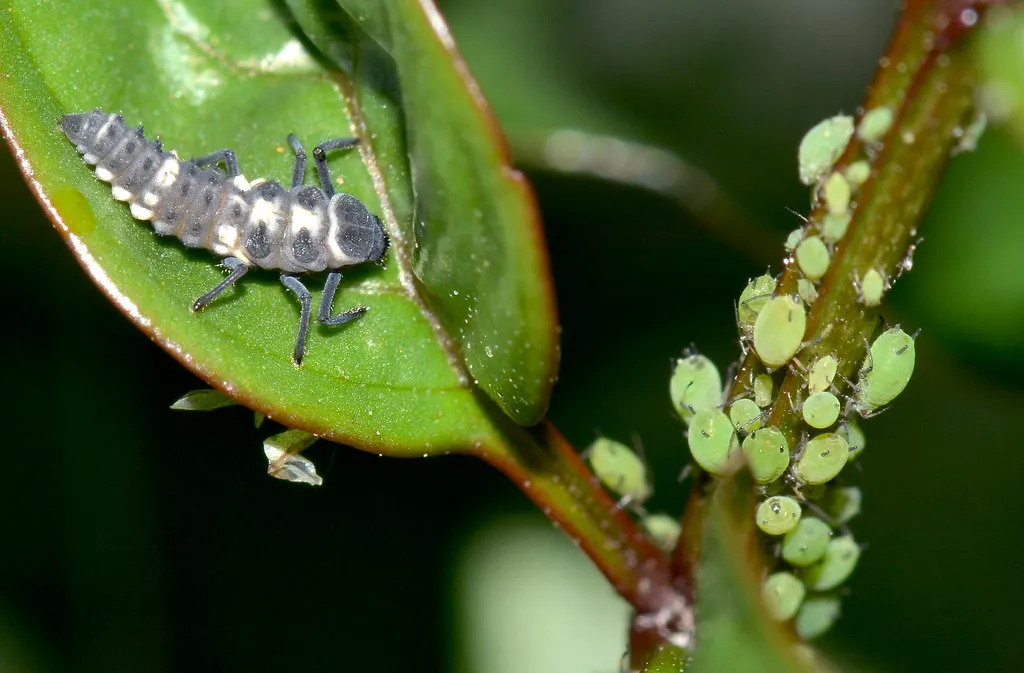
How to Get Rid of Aphids Naturally (Without Harming Beneficial Insects)
How to spot aphids, knock them back with water and insecticidal soap, recruit ladybugs and lacewings, and prevent the next outbreak.
How to Plant Spring Bulbs in Fall for a Garden Full of Color
When to plant tulips, daffodils and crocuses, how deep to set them, how to keep squirrels away, and what to do in warm climates where bulbs need chilling.